
Printing on chocolate looks effortless when it works and frustrating when it doesn’t: the image smears, the colours sit dull or the ink beads on the surface. Almost every problem is decided before the printer starts — by the temper, the room and the artwork.
Key takeaways
- Print only on well-tempered, fully set chocolate
- Keep chocolate and room in a stable range — cold chocolate attracts condensation
- Design in CMYK, high resolution, with strong contrast
- The Vulpes Pro activation system lets colour stay in the chocolate surface without transfer films or primers
1. Start with a properly tempered surface
Ink needs a smooth, hard, stable surface. That means correctly tempered chocolate — taken through a temperature curve so the cocoa butter forms stable crystals and sets glossy and snappy instead of soft and streaky. A typical curve used by professionals:
- Dark: melt at 45–50 °C, cool to about 27 °C, rewarm to 31–32 °C
- Milk: melt at about 45 °C, cool to 27 °C, rewarm to 29–30 °C
- White: melt at 40–45 °C, cool to 26–27 °C, rewarm to 28–29 °C
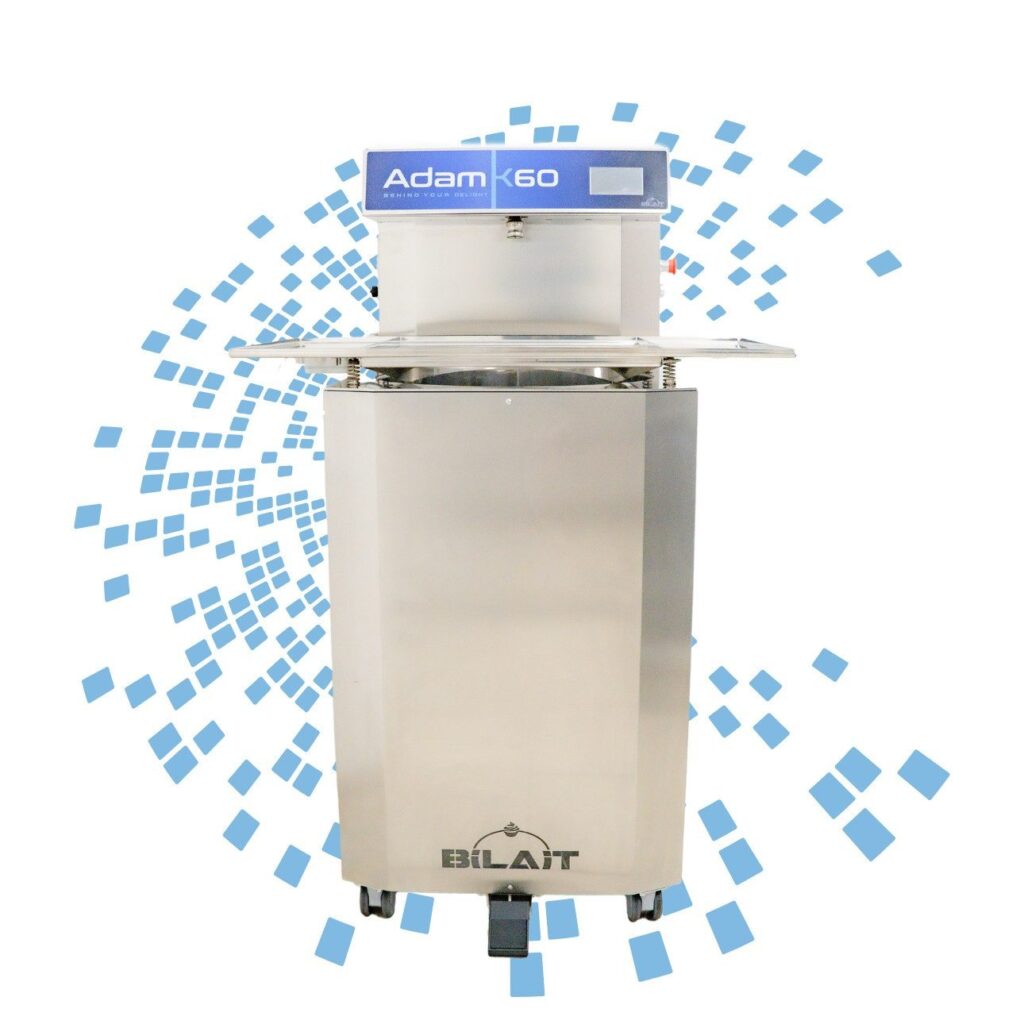
Always check the data sheet of your own chocolate — formulations differ. Bloom, a greasy film or a soft surface will never take a clean print, whatever printer you use. Continuous tempering machines such as the Bilait Adam range keep the temper stable through a whole production day.
2. Control temperature and condensation
Print chocolate that has set and stabilised at room temperature, not straight from the fridge: cold chocolate pulls moisture from the air, and a film of condensation ruins adhesion. If pieces have been chilled, let them come up slowly in their packaging. IMAGO specifies a working environment of 21–28 °C and 35–60 % relative humidity for the Vulpes Pro — a good target for the whole printing area.
3. Prepare the artwork properly
- Work in CMYK, not RGB — what you see on screen is then closer to what prints
- Use high-resolution files; a logo that looks fine on a phone can pixelate at print size
- Favour contrast: pale, fine detail disappears on dark chocolate
- Leave a small margin to the edge of the piece so slight positioning differences don’t show
If you don’t have a designer, our design & artwork service prepares files ready for printing on food.


4. Let substrate activation do the hard part
Chocolate is fatty and non-porous, so ordinary edible ink tends to bead on it. On the Vulpes Pro, a special system activates the first layer of the surface right before printing so the edible ink is taken up evenly instead of beading on the surface; settings are matched to your product and confirmed with a test print. On the IMAGO Vulpes Pro it is built in and adjustable per product — for chocolate, caramel, isomalt and jelly beans — and the printer tolerates up to 10 mm of height difference across the table, so round pralines and lollipops print too.

Why printed chocolate matters more than ever
Cocoa has been the most volatile ingredient in confectionery. ICE cocoa futures passed US$10,000 per tonne for the first time in March 2024 and reached a record of about US$12,900 in December 2024, before falling back to the US$5,000–6,500 range in 2026. When the raw material is expensive and unpredictable, selling chocolate by weight is risky — selling a personalised piece at a premium protects the margin.
Producers who print at scale see it in their numbers. Chocolissimo, one of Europe’s leading gift-chocolate brands, replaced its entire printing fleet with IMAGO over three years and launched photo-quality printed chocolates that were not viable before. Tasty Present, a Dutch family manufacturer with around 100 staff, built photo chocolates and chocolate telegrams into its range. See the case studies.
See your design on your own chocolate
Bring a few pieces to a free demo — we print them live and you take the samples home.
Written by Zoran Obradović and the Printeat team. Figures from customer case studies are reported results from the companies named; market figures are cited at the end.